
Paying bills online is common in today’s digital world. Facebook now allows users to pay bills using virtual cards.
A virtual card offers a secure and convenient way to manage online payments. Unlike physical cards, virtual cards provide a layer of protection against fraud. They work like regular credit or debit cards but are stored digitally. This makes them ideal for online transactions, including paying bills on platforms like Facebook.
Virtual cards can be used to pay for ads, subscriptions, and other services. They are easy to set up and use, making them a popular choice for digital payments. Understanding how to use a virtual card for Facebook bill payment can save you time and provide peace of mind. Let’s dive into how you can benefit from this secure payment method.
Introduction To Virtual Cards
Welcome to the future of easy and secure payments! If you are tired of the hassle of traditional payment methods, then virtual cards might be just what you need. In this post, we will dive into the world of virtual cards, with a special focus on how they can be used for Facebook bill payments. Let’s break it down simply and effectively.
What Are Virtual Cards?
Virtual cards are a modern solution to the age-old problem of payment security. Imagine a credit or debit card, but without the physical plastic. Instead, you get a unique card number, expiration date, and CVV code that you can use for online transactions.
These cards are typically linked to your actual bank account or a digital wallet. They offer a layer of protection by keeping your real card details safe from online fraudsters. You can think of them as a digital cloak for your financial information!
Benefits Of Using Virtual Cards
So, why should you consider using virtual cards for your Facebook bill payments? Here are a few compelling reasons:
- Enhanced Security: Virtual cards provide an extra layer of protection by masking your real card details. Even if a hacker gets hold of your virtual card number, they won’t have access to your main account.
- Convenience: No need to carry a physical card. You can generate a virtual card instantly and use it for your transactions. This is especially useful for online payments and subscriptions.
- Control and Flexibility: You can set spending limits, expiration dates, and even create single-use cards for one-time payments. This gives you greater control over your finances and helps prevent overspending.
- Easy Management: Managing virtual cards is a breeze. Most banking apps allow you to create, view, and manage your virtual cards with just a few taps on your smartphone.
By now, you might be wondering how to get started with virtual cards. Don’t worry, it’s simpler than you think! Most major banks and financial institutions offer virtual card services. Just log in to your online banking portal and look for the virtual card option.
Using virtual cards for Facebook bill payments is not just a trend; it’s a smart way to ensure your financial security while enjoying the convenience of online transactions. Give it a try and see the difference it makes!
Setting Up A Virtual Card
So, you’ve decided to use a virtual card for your Facebook bill payments. Great choice! Virtual cards provide a secure and convenient way to handle online transactions. But how do you set one up? Don’t worry; we’ve got you covered. In this section, we’ll walk you through the steps of setting up your virtual card, from choosing a provider to creating the card itself. Let’s dive in!
Choosing A Provider
First things first, you need to choose a provider for your virtual card. There are several options out there, each with its features and benefits. Here are a few things to consider:
- Security: Ensure the provider has strong security measures in place. You want to protect your financial information.
- Fees: Look at the fees associated with the virtual card. Some providers charge a small fee, while others might offer free services.
- User Experience: Check if the provider’s app or website is user-friendly. You don’t want to struggle with a complicated interface.
- Customer Support: Good customer support is essential. You need help quickly if something goes wrong.
Do a bit of research, read reviews, and maybe even ask friends for recommendations. Once you’ve picked a provider, you’re ready for the next step.
Creating Your Virtual Card
Now that you’ve chosen a provider, it’s time to create your virtual card. Here’s a simple step-by-step guide:
- Sign Up: Go to the provider’s website or download their app. Sign up for an account. This usually involves entering your email, creating a password, and verifying your identity.
- Access the Virtual Card Option: Once your account is set up, navigate to the virtual card section. This might be under ‘Payments’ or ‘Cards. ’
- Create the Card: Follow the prompts to create your virtual card. You’ll typically need to enter some basic information, such as your name and billing address.
- Link to Funding Source: Link your virtual card to a funding source. This could be your bank account or another credit card. Make sure you have enough funds to cover your Facebook bill payments.
- Generate the Card: Click the button to generate your virtual card. You’ll receive a card number, expiration date, and CVV code. This information is what you’ll use for your Facebook bill payments.
And there you have it! Your virtual card is ready to use. It’s a simple process, but if you run into any trouble, don’t hesitate to reach out to the provider’s customer support. They’re there to help.
| Step | Description |
|---|---|
| Sign Up | Create an account with the provider. |
| Access Virtual Card Option | Find the virtual card section in the app or website. |
| Create the Card | Enter your information to generate the card. |
| Link to Funding Source | Connect your bank account or credit card. |
| Generate the Card | Receive your virtual card details. |
Now, you’re all set to use your virtual card for Facebook bill payments. Isn’t technology amazing? With just a few clicks, you’ve added an extra layer of security to your online transactions. Happy paying!
Linking Virtual Card To Facebook
Using a virtual card for Facebook bill payment is simple and secure. A virtual card can help protect your main bank account information. It also makes tracking your spending easier. The following steps will guide you through the process of linking your virtual card to Facebook.
Accessing Payment Settings
First, log in to your Facebook account. Then, go to the top right corner and click the downward arrow. This will open a menu. Find and click on “Settings & Privacy.” Next, select “Settings.” You will see a list of options on the left-hand side. Click on “Payments.” This takes you to the Payment Settings page. Here, you can manage all your payment methods.
Adding The Virtual Card
On the Payment Settings page, look for the section labeled “Payment Methods.” Click on “Add Payment Method.” A new window will pop up. Select “Credit/Debit Card” as your payment type. Enter your virtual card details. This includes the card number, expiration date, and security code. Once done, click “Save.” Your virtual card is now linked to your Facebook account. You can use it for ad payments and other Facebook transactions.
Making Payments On Facebook
In today’s digital age, making payments online has become a routine for many of us. Facebook, a social media giant, is not just a platform for connecting with friends and family but also a place where businesses flourish and transactions happen. One of the convenient methods to handle transactions on Facebook is through virtual cards. This guide will walk you through the process of making payments on Facebook using a virtual card, ensuring your experience is smooth and hassle-free.
Selecting Payment Options
When you’re ready to make a payment on Facebook, the first step is to choose your payment method. Here’s how you can do it:
- Go to the Facebook page where you want to make a purchase or pay a bill.
- Click on the payment button. You’ll usually find it on the checkout page or within the payment section of the application.
- Under payment methods, select ‘Add Payment Method. ’
- Choose ‘Virtual Card’ from the list of available options.
Using a virtual card is not only secure but also quick, as you don’t have to enter your physical card details each time. Plus, it adds an extra layer of protection against fraud.
Completing The Transaction
Once you have selected the virtual card as your payment method, completing the transaction is straightforward:
- Enter the details of your virtual card, including the card number, expiration date, and CVV.
- Double-check the information to ensure it’s correct. Nothing is more frustrating than a failed transaction due to a typo!
- Click on the ‘Pay Now’ button to proceed.
After you hit the pay button, you might be asked to authenticate the transaction, depending on your bank’s security protocols. This could involve entering a one-time password (OTP) sent to your phone or verifying through a banking app.
Tip: Always ensure your contact details are up-to-date with your bank to avoid any hitches during authentication.
And there you have it! Your payment is complete, and you can now enjoy the services or products you’ve purchased. Isn’t it amazing how technology makes our lives easier? With virtual cards, you’re not just making a payment; you’re ensuring a secure and efficient transaction every time you use Facebook.
Remember, as with any online transaction, always stay vigilant and monitor your transaction history for any unusual activity. Happy shopping!
Security Features
Virtual cards provide a secure way to pay Facebook bills. They offer several security features that protect against fraud and unauthorized transactions. These features ensure your financial information remains safe.
Fraud Protection
Virtual cards come with advanced fraud protection. They detect and prevent suspicious activities. This reduces the risk of unauthorized transactions. Your financial data stays secure and private.
Temporary Card Numbers
One significant feature is the use of temporary card numbers. These numbers expire after a set period or a single use. This limits the chances of misuse. Even if someone gets your card number, it won’t work for long.
Managing Your Virtual Card
Virtual cards have become a popular choice for Facebook bill payments. They offer a secure and convenient way to manage your expenses. To get the most out of your virtual card, it’s important to know how to manage it effectively. In this section, we will cover the essentials of managing your virtual card, including tracking expenses and renewing or replacing cards. Let’s dive in!
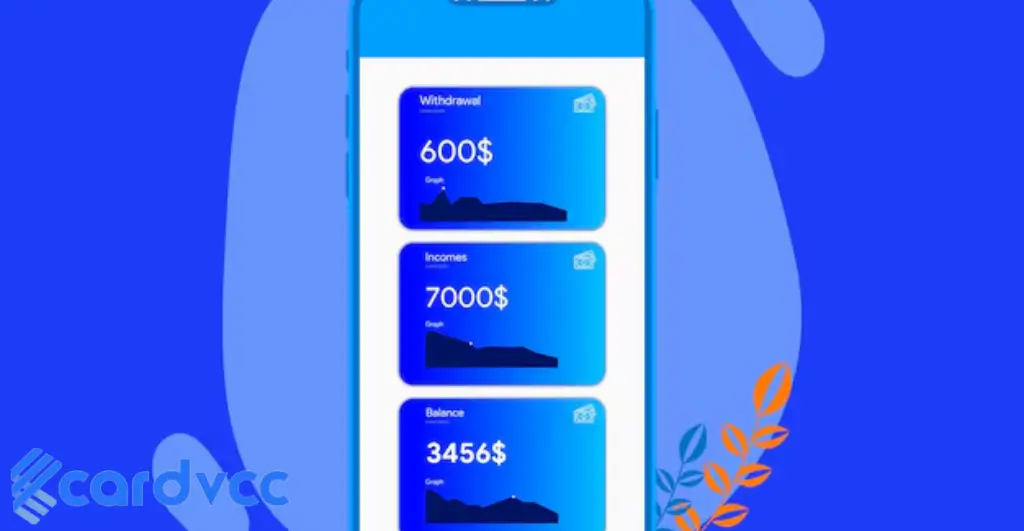
Tracking Expenses
Keeping track of your expenses is key to staying within your budget and avoiding surprises. Here are some tips to help you manage your virtual card expenses:
- Regular Monitoring: Check your virtual card statements regularly. Many virtual card providers offer online platforms or mobile apps where you can view your transactions in real time.
- Set Alerts: Most virtual card services allow you to set up alerts for various activities, such as when a payment is made or when your balance is low. These alerts can help you stay on top of your spending.
- Budgeting Tools: Use budgeting tools or apps to categorize your expenses. This can help you understand where your money is going and make adjustments as needed.
By keeping a close eye on your spending, you can ensure that your Facebook bill payments are always covered without any stress.
Renewing Or Replacing Cards
Virtual cards are not just for one-time use. Sometimes, you may need to renew or replace your virtual card. Here’s how you can handle these situations:
- Renewing Your Card: When your virtual card is nearing its expiration date, your provider will usually notify you. Follow their instructions to renew your card. This process is typically quick and can often be done online.
- Replacing Your Card: If your virtual card is lost or compromised, you can request a replacement. Contact your card provider immediately to report the issue. They will issue a new card and help you transfer any remaining balance.
Don’t worry; renewing or replacing your virtual card is a straightforward process. Just be sure to act promptly to avoid any interruptions in your Facebook bill payments.
Managing your virtual card doesn’t have to be complicated. With regular monitoring and timely renewals or replacements, you can ensure a smooth and hassle-free experience. So, go ahead and take control of your virtual card today!
Troubleshooting Common Issues
Navigating Virtual Card for Facebook Bill Payment can sometimes present challenges. These issues can affect your experience. Here, we address common problems and solutions.
Declined Transactions
Transaction declines can be frustrating. First, ensure your card has sufficient funds. Sometimes, banks may block transactions for security reasons. Contact your bank to verify.
Check if the card has expired. Expired cards will be automatically declined. Always keep track of your card’s expiration date.
Make sure the card details match Facebook’s records. Incorrect information can lead to declines. Double-check the card number, expiration date, and CVV code.
Updating Card Information
Keeping your card information updated is crucial. Go to your Facebook payment settings. Find the section for updating card details.
Enter the new card information accurately. Verify the card number, expiration date, and CVV code. Save the changes and confirm the update.
Update your card information promptly. This prevents future payment issues. Consistent updates ensure smooth transactions.
Future Of Virtual Cards
The future of virtual cards is bright, and it is getting brighter every day. With the rise of digital payments, virtual cards are becoming more popular. They offer convenience, security, and flexibility. But what does the future hold for virtual cards, especially when it comes to paying your Facebook bills? Let’s take a look at the trends and innovations shaping this exciting technology.
Trends In Digital Payments
Digital payments are evolving rapidly. Here are a few trends to keep an eye on:
- Contactless Payments: More people are using contactless payments. It’s quick and easy. You just tap your card or phone.
- Mobile Wallets: Mobile wallets are becoming more popular. Think of Apple Pay, Google Wallet, and Samsung Pay. You can store your virtual card in these wallets.
- Cryptocurrency: Some platforms are starting to accept cryptocurrencies like Bitcoin. This could be a future trend for virtual cards, too.
Innovations In Card Technology
Virtual card technology is advancing. Here are some cool innovations:
- Enhanced Security: Virtual cards are getting more secure. They use advanced encryption and tokenization. This keeps your information safe.
- Customizable Limits: You can set spending limits on your virtual card. This helps you control your budget.
- Instant Issuance: You can get a virtual card instantly. No need to wait for a physical card to arrive in the mail.
- Integration with Apps: Virtual cards can easily integrate with your favorite apps. This makes payments seamless and convenient.
Frequently Asked Questions
Does Facebook Accept Virtual Cards?
Can You Use A Virtual Card To Pay A Bill?
Which Virtual Card Is Best For Facebook Ads?
How Do I Create A Virtual Payment Card?
Conclusion
A virtual card simplifies Facebook bill payments. It offers convenience and security. You can control spending and avoid overspending. It’s easy to set up and use. Enjoy peace of mind with secure transactions. Make payments without sharing sensitive information. Virtual cards can streamline your payment process.